fScanX Automator Action: Save Common Settings


 Save Common Settings
The simplest thing you can do with Automator and the fScanX action is create an application which will scan with your pre-determined settings. This example will show you how.
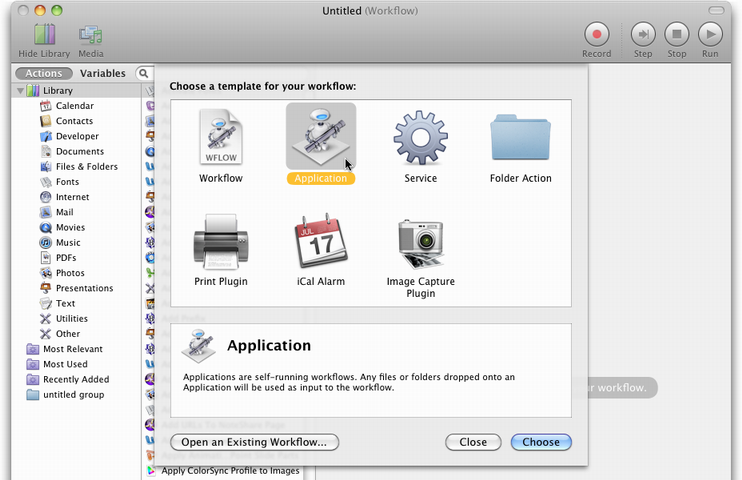
Find & launch the Automator application. Automator requires you to choose what kind of workflow to create. For this example, click "Application", then click the "Choose" button:
Automator's actions are grouped by category for browsing, but for this example just start typing "fscanx" in the search field:
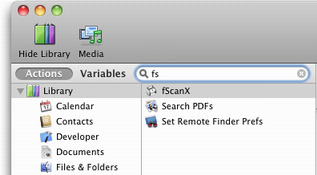
Click on the fScanX action and drag it into your workflow:

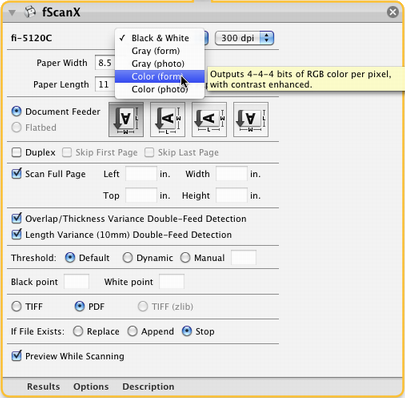
The fScanX configuration panel will be displayed in the workflow; configure your scan parameters:
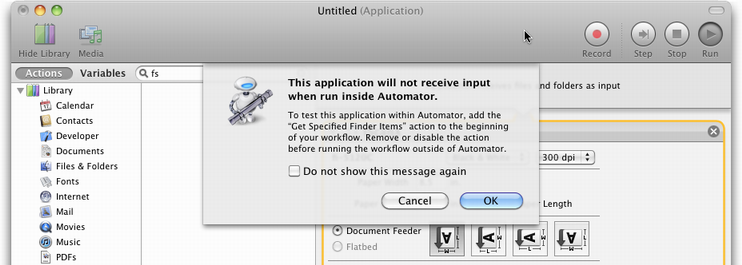
If you want, you can test the workflow by clicking the "Run" button (although with this one there's not much question about what it's going to do):

(If you do run it here, you can just ignore the warning you'll get, because the fScanX action knows what to do if it's not provided a location):
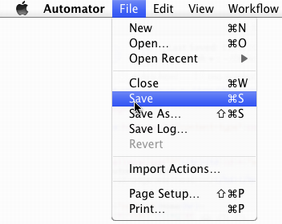
Now, save the application/workflow:
Choose a location and give it a name:
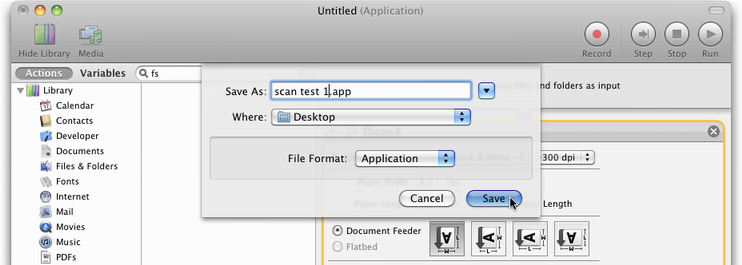
You have now created an application that will scan with the settings you defined:
![]()
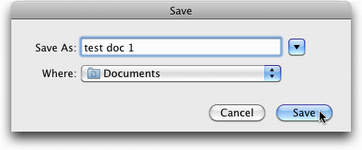
To scan using your workflow, double-click it. It will launch and display a save panel; choose a location and provide a file name for your scan:
If you want more options on where to save the scanned document, click the disclosure button in the save panel:
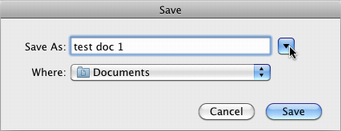
This will give you access to all locations on all of your volumes:

© 1996-2020 Scott Ribe.